
Last updated November 15, 2026
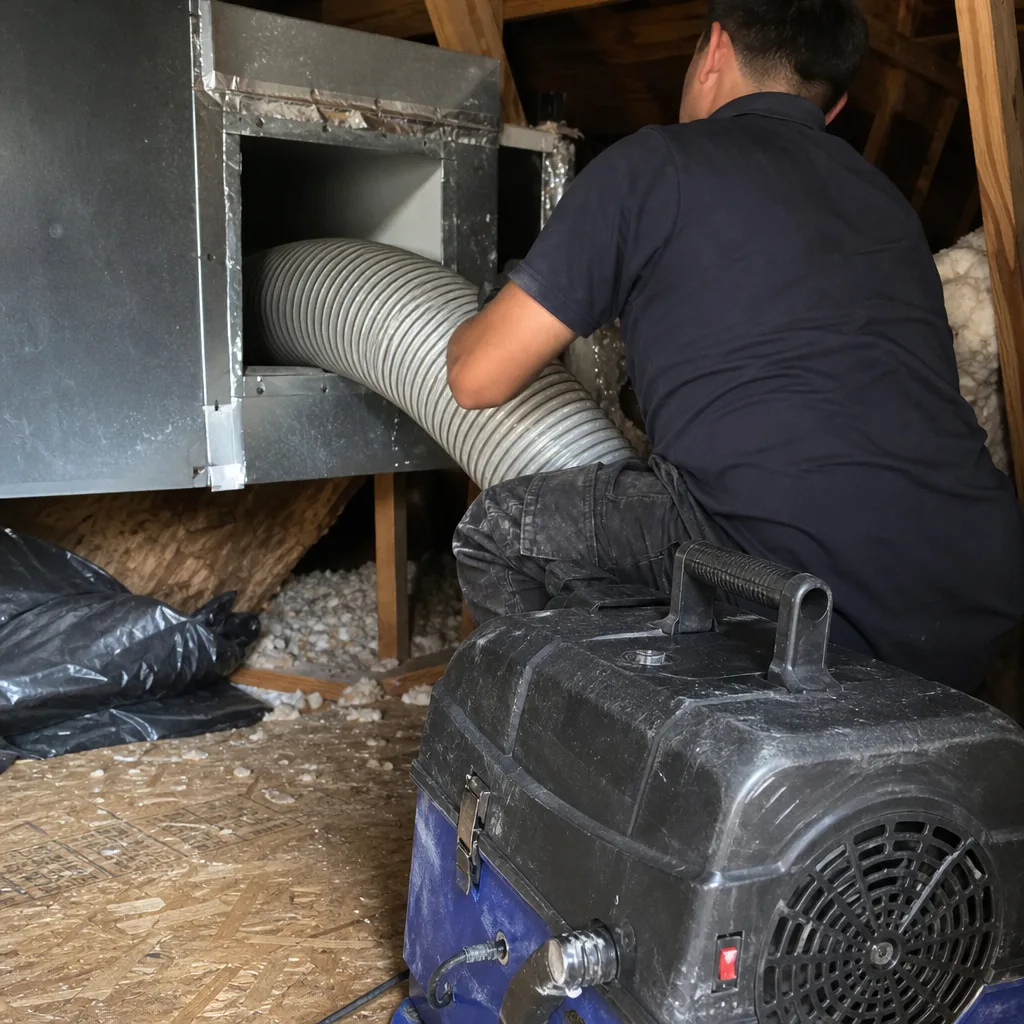
 Whole-home duct cleaning
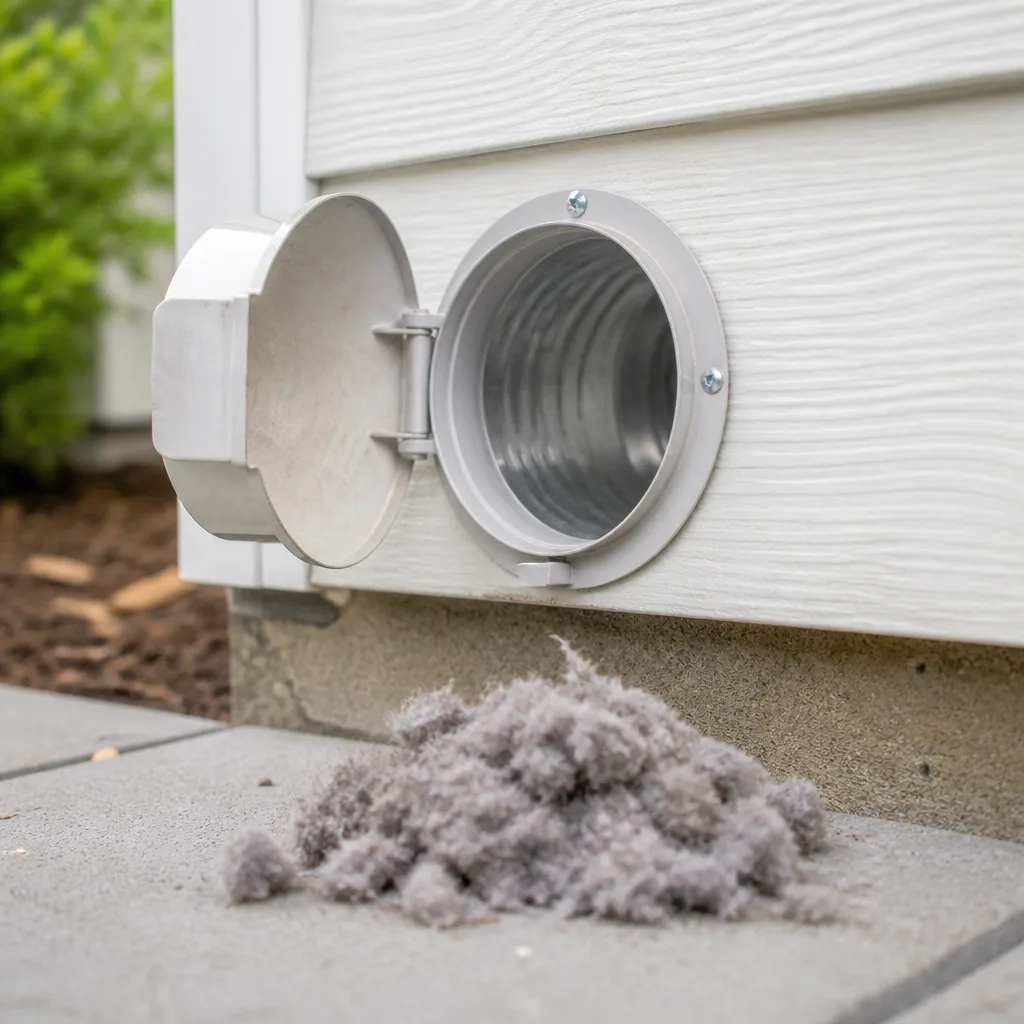 Dryer vent cleaning
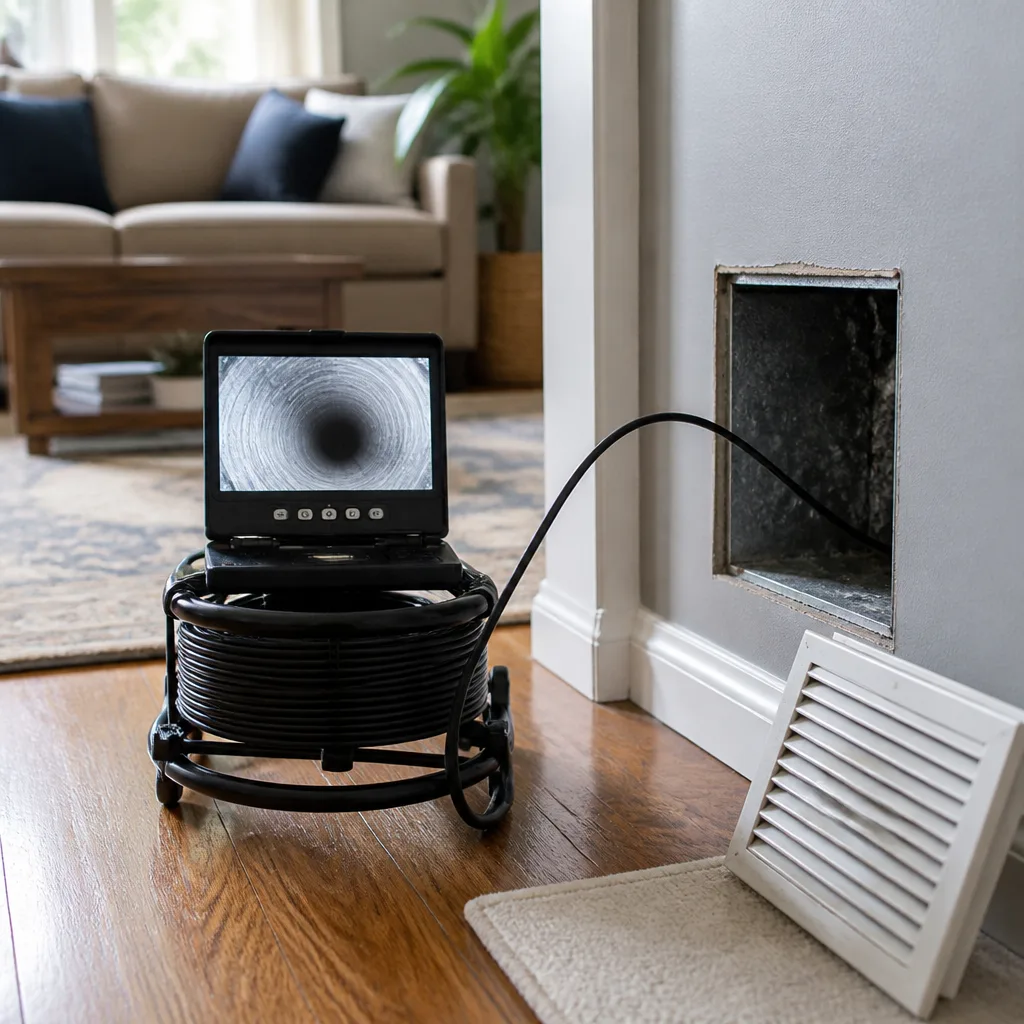 Camera inspection
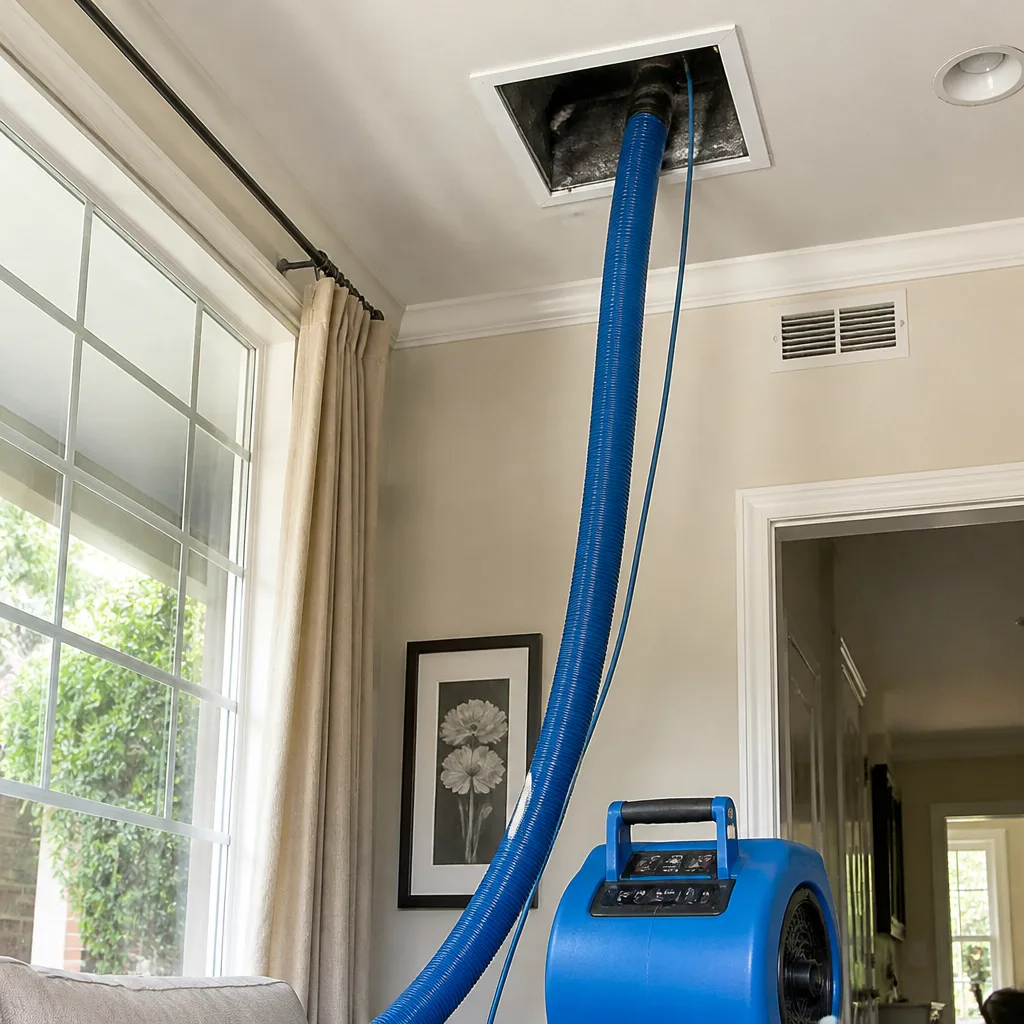 Sanitizing & deodorizing
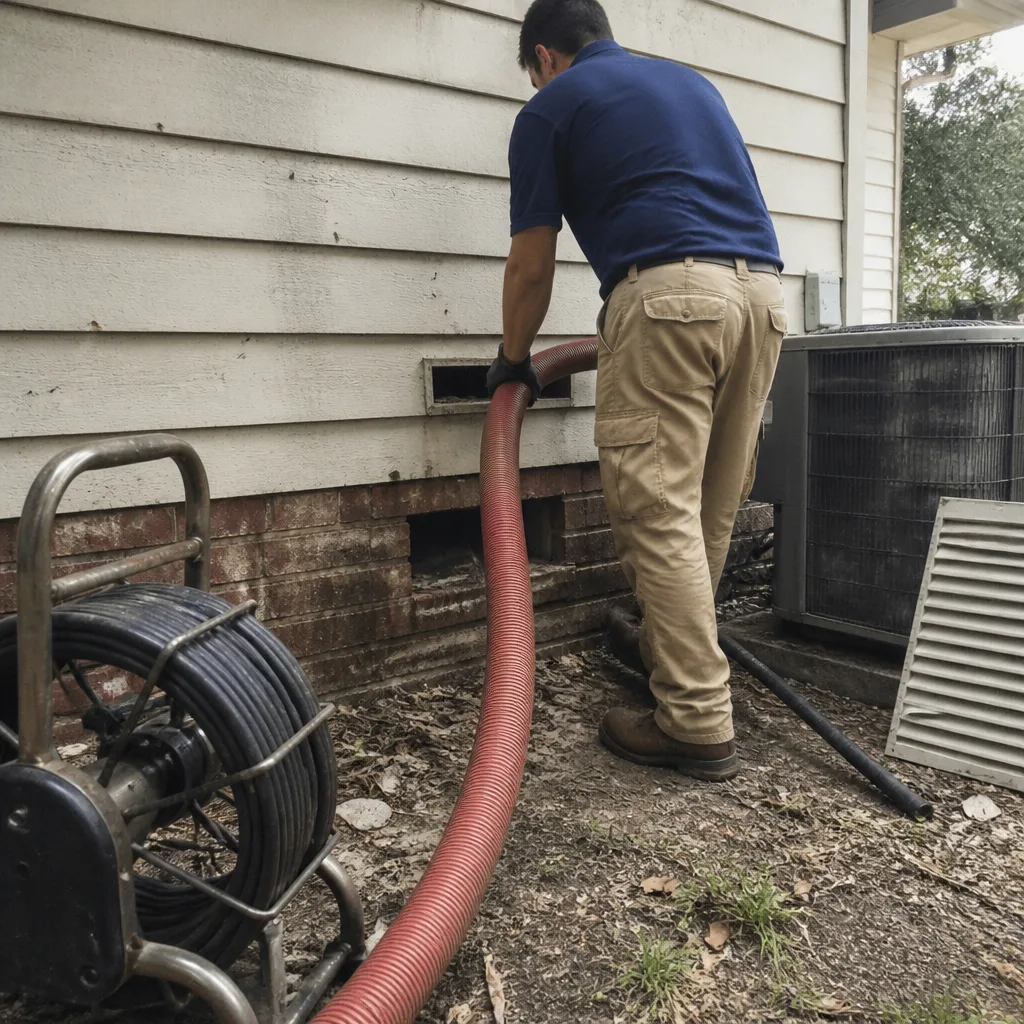
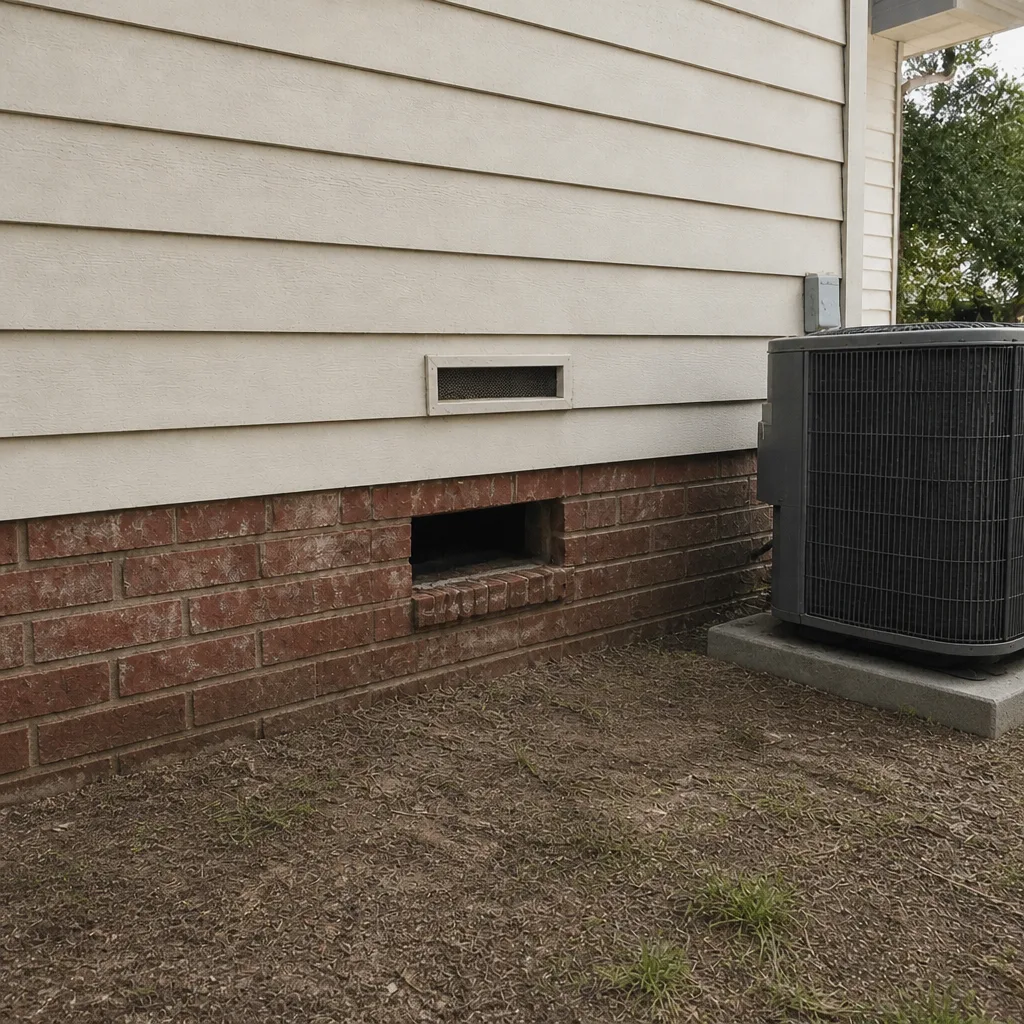
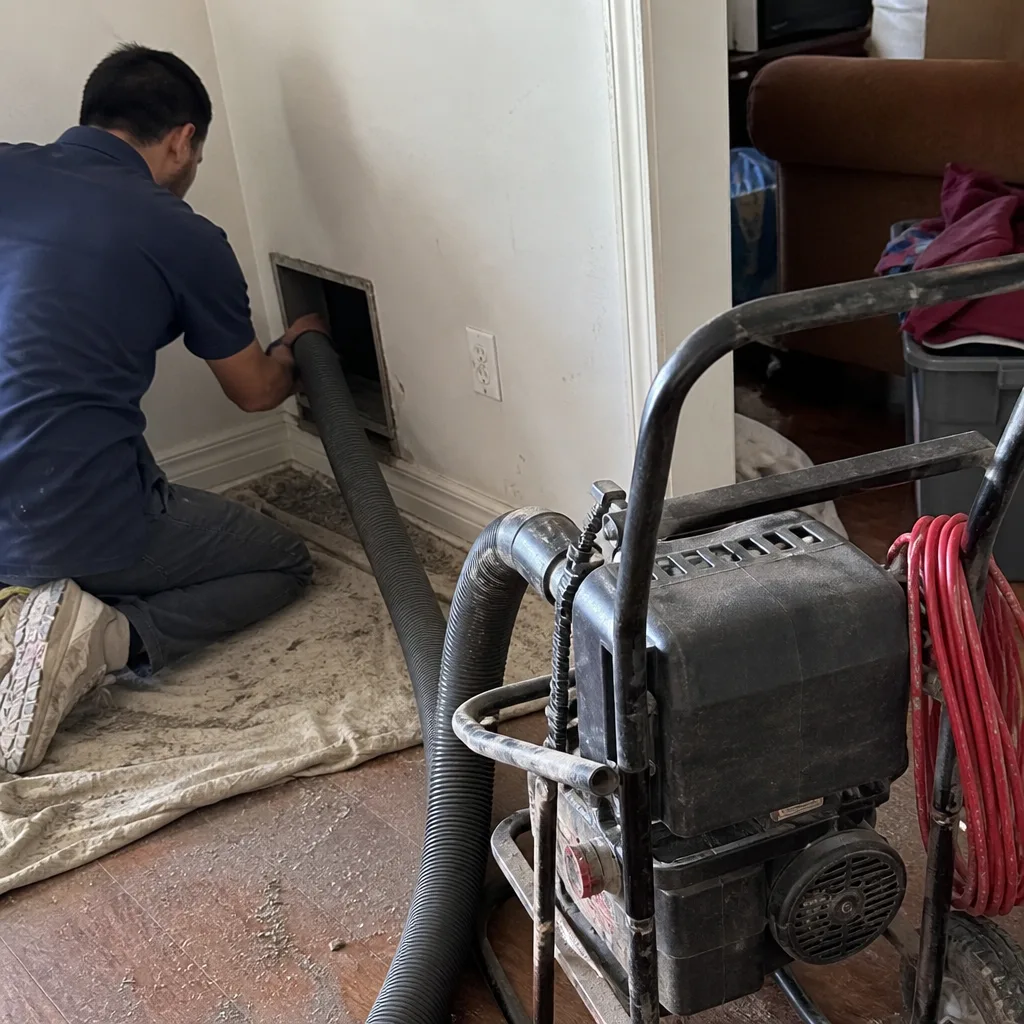
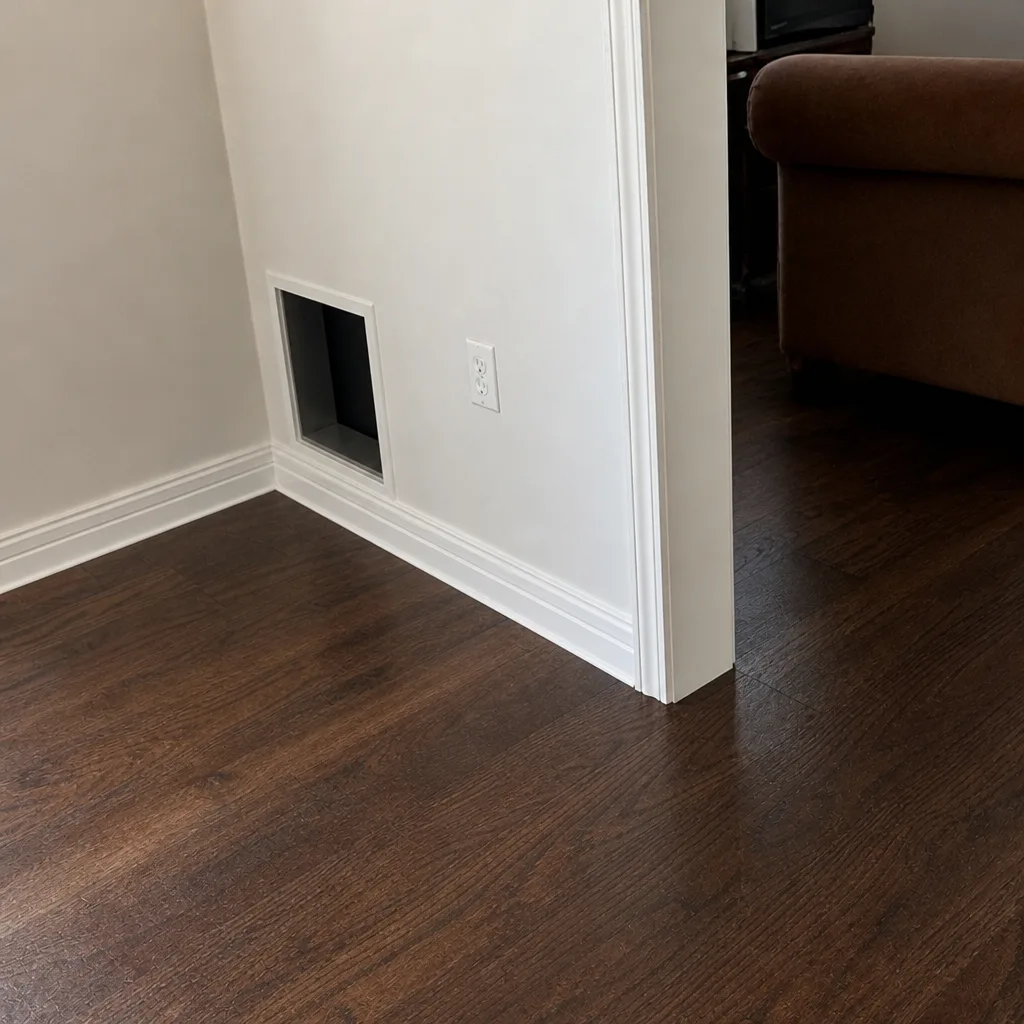
Whole-system duct and dryer vent check with before-and-after photos - you see exactly what came out of your vents
That "$99 whole-house special" is a bait ad - the real number appears once they are in your hallway, or the "clean" is a shop-vac at the register. We photograph the inside of your ducts before and after instead.
Air Duct Cleaning Maintenance Checklist for Garland Homeowners
Changing your filter on schedule while ignoring the return plenum is like rotating the tires on a car with a cracked axle. The visible maintenance gets done, the real accumulation point keeps growing, and nothing about how the system performs actually changes. Most Garland homeowners have been handed the same advice for years: swap the filter every 30 to 90 days and everything is fine. That advice isn’t wrong, it’s just incomplete. Ducts don’t fail on a calendar. They load up based on how your specific system is built, what’s growing and blowing around outside, and how tight the house is.
This guide gives you a condition-based checklist instead. You’ll learn what to inspect at each duct zone in a typical Garland home, which seasonal triggers actually matter here, how to use filter loading as a contamination gauge, what deserves a camera scope, and how your duct material and home age change all of it.
Styles & brands we work with
- Whole-home duct cleaning
- Dryer vent cleaning
- Camera inspection
- Sanitizing & deodorizing
Quick Answer
A duct cleaning maintenance checklist for Garland homeowners should be built around observable conditions, not fixed dates. Check your return plenum, supply trunks, flex runs and boot connections visually every few months, log how fast your filter loads up, and schedule a professional scope when you see streaks, smell mustiness, or the filter clogs faster than it used to. Focus on cedar pollen season in January and February, spring mold pressure after DFW rain, and summer construction dust from active development corridors.
Table of Contents
- Why Calendar Reminders Fail and Condition Checks Work
- Inspection Points by Duct Zone
- Garland Seasonal Triggers: Cedar Pollen, Spring Mold, Construction Dust
- How to Log Filter Loading Rates as a Contamination Gauge
- What Needs a Camera Scope vs. What You Can See at the Register
- How Home Age and Duct Material Change Inspection Frequency
- The Line Between Checking and Doing: Safety Boundaries
- Common Mistakes to Avoid
- When to Call a Professional
- Frequently Asked Questions
- The Bottom Line
Why Calendar Reminders Fail and Condition Checks Work
A calendar reminder assumes every home accumulates debris at the same rate. They don’t. Two houses on the same street in Garland can have completely different duct loading profiles depending on construction style, whether the return is ducted or a single panned joist, how the previous owner maintained the system, and whether any duct sections were ever disconnected. That’s why the first principle of this checklist is to measure rather than guess.
In our experience, the homes that skip decades of attention and then pay for one deep cleaning tend to need it again sooner than homes that did modest check-ins along the way. The debris doesn’t just sit in a layer; it compounds. Dust bonds to the duct walls, pollen and moisture give it a texture, and once the film is established it catches new debris faster than bare metal would. Registers that looked fine three years ago can be coated on the underside of the boot where you’d never think to shine a light.
Here’s what calendar-based duct maintenance ignores:
- Rates of debris load vary with construction dust from nearby active building corridors.
- Cedar pollen in North Texas arrives in a compressed window and can flood a return faster than any other season.
- Every filter cycle is a data point you can use to gauge what your ducts are doing between professional cleanings.
- Home renovations, filter upgrades, or HVAC replacements reset your baseline and warrant a fresh inspection.
Once you start tracking conditions instead of dates, the checklist becomes a short routine. Not a chore list, but a five-minute quarterly check that tells you what your system is actually signaling. When a check does surface something, that’s the moment to look at air duct cleaning as the next move rather than a vague future date on a phone reminder.
Inspection Points by Duct Zone
A duct system isn’t one thing. It’s four fairly distinct zones, and each one accumulates debris differently. A proper maintenance check moves through them in order, because what you find in one zone shapes what to look for in the next.
1. Return Plenum and Return Trunk
The return is where most of the accumulated debris in a Garland home actually lives, because it’s the pathway that carries dust from the living space back into the air handler. Pop the return grille off and look in with a flashlight. You’re checking for:
- Visible dust matting on the interior walls of the return.
- Streaks that look like soot marks around the grille frame.
- Any musty or cardboard-like smell carried on airflow in that zone.
- Filter bypass: gaps around the filter frame that let air slip past without going through the media.
A filter that never seems to get dirty is often the stronger signal, not the weaker one. It means air is bypassing the filter, and everything that should have been caught is going into the return plenum and the air handler instead.
2. Supply Trunks
Supply trunks are the main runs leaving the air handler. Look at the seams where sections are joined. In older Garland homes you’ll sometimes find taped joints that have separated, which is a duct repair issue rather than a cleaning issue. If supply runs are insulated on the outside, check for any soft or compressed sections where debris may have built up inside.
3. Flex Duct Runs
Flex duct is the corrugated flexible material used in most attic runs, especially in homes built in the last 20 to 30 years. It’s more prone to sagging and to debris collection at the low points of a run. Check the outside of each flex run for kinks, crushed sections, or sags. Any sag is a spot where debris and moisture accumulate, and it’s also a spot where airflow drops. Sags that stay soft and cool to the touch even when the system is running are a sign of a disconnected or breached section.
4. Boot Connections and Register Boxes
The boot is the metal fitting that connects your ceiling or wall register to the duct run behind it. This is the highest-visibility point for a homeowner and often the last place a technician looks. Remove the register cover and inspect:
- Visible dust on the interior walls of the boot.
- Whether the boot is fully seated against the drywall or ceiling.
- Any gap around the boot edge where air leaks into the wall cavity.
- Streaks or marks under the register that suggest dust falling from above.
Boot gaps are a common find because they let attic dust or wall cavity dust pull into the supply stream. If your registers in a Garland home seem to emit a fine dust shortly after the system kicks on, the boot connection is the first place to look.
Garland Seasonal Triggers: Cedar Pollen, Spring Mold, Construction Dust
Local context matters more than national timing. Garland sits inside the DFW pollen corridor and near active development corridors, and those two facts shape when a duct system actually loads up. Here’s the seasonal map we work from when advising Garland homeowners.
January and February: Cedar Pollen
Mountain cedar pollen is one of the most aggressive seasonal events in North Texas, and it lands early. For households where anyone has pollen sensitivities, the return filter often loads visibly in January and February in a way it doesn’t the rest of the year. This is the window to increase filter checks to every two to three weeks rather than monthly, and to watch the interior of the return plenum for yellow-green accumulation on the walls.
March Through May: Spring Mold After Rain
After heavy spring rain, ambient humidity in Garland can climb enough that a home with any existing duct moisture issue starts smelling musty. The signal is the smell more than the sight. If a closet return smells musty when the AC starts in the morning, the whole return path is worth a scope. That’s usually where we see mold colonization begin: on the return side, not the supply side, because the return runs cooler and damper in humid weather than the supply.
June Through September: Summer Construction Dust
Active development corridors across the DFW area push fine construction dust into the air for long stretches during the summer building season. Even a home several blocks from a work site accumulates that gypsum and concrete dust through open windows and door traffic. It’s fine material that gets past standard filters and settles in the return trunk. If your home is near any active subdivision or large commercial build, add a post-season inspection to the checklist in September or October.
October Through December: Post-Season Check
After the cooling season, look at the return and a sample of boots to see what the peak months dropped. This is also when most Garland homeowners run their heating for the first time. If the first heat cycle brings a smell through the registers, that’s the trigger for a check before the smell turns into a habit you stop noticing.
How to Log Filter Loading Rates as a Contamination Gauge
Your filter is a proxy indicator. It’s not perfect, but it’s the cheapest measurement tool you have, and it can tell you a lot about what’s happening inside a duct system you can’t see into. The trick is to track time-to-noticeable-loading rather than just a schedule.
How to Run a Filter Log
- Note the install date and filter type. Include the MERV rating and the size. A 16x25x1 occupies less media depth than a 4-inch media cabinet and loads faster.
- Photograph the filter at every check. A phone photo is enough. A reference photo from month two lets you compare against month four without relying on memory.
- Log the check date and the visual condition. Note whether it’s lightly discolored, evenly gray, or visibly matted.
- Note the days between checks. Every filter has a “loading interval,” and once you know yours, you can compare trends cleanly.
- Reset the baseline after any change. If you switch filter types, move to a media cabinet, or have the ducts cleaned, start a new log.
What the Trend Means
If a filter that used to last 60 days now visibly loads at 30 or 35 days, that’s a strong indicator that the duct system is contributing to what the filter catches. The filter is working harder because the supply air is dirtier to begin with. That’s a signal to schedule a professional inspection with a camera scope rather than just buy filters faster.
If a filter looks clean at 90 days when it should be gray by then, the signal goes the other way. Air is finding a way around the filter, which usually means filter bypass at the frame, a return leak, or an undersized filter for the airflow. Any of those needs a look.
A straight comparison across a full year usually gets the smoothest read: log every filter change starting in January, and by the following January you can see which seasons your specific home reacts to. A Garland home near mature trees and open lots often loads more in late winter and early spring. A newer construction-area home loads more in summer.
What Needs a Camera Scope vs. What You Can See at the Register
A homeowner can learn a lot with a flashlight and a register removal tool. But there are hard boundaries, and knowing them keeps you from wasting effort or calling a job clean when it isn’t.
What You Can Assess Yourself
- Interior of the boot behind each register.
- Return plenum interior through the return grille.
- Outside condition of flex runs visible in an attic (from safe footing only).
- Filter loading trend and loading interval.
- Smell carried on airflow at register faces and at the return.
- Visible seams and joints on exposed supply trunks.
What Needs a Camera Scope
- Interior of flex runs beyond the first elbow.
- Interior of horizontal supply runs above finished ceilings.
- Any duct section the register doesn’t give a line of sight into.
- Assessment of whether visible boot debris extends all the way to the trunk.
- Confirming duct repair on any section that looked soft or sagging in a hands-on check.
- Verifying that a professional cleaning actually removed debris from every run rather than just agitants that recirculate.
We use a camera scope on every job for a simple reason: visual range from a register doesn’t tell you what’s 15 feet into a flex run. That’s why our duct cleaning service starts with an equipment inspection down every reachable run before any mechanical cleaning begins. When a technician shows you photos or a screen capture of what the scope saw, you’re not taking a verbal report on trust. You’re seeing the same thing they saw.
How Home Age and Duct Material Change Inspection Frequency
Duct material and construction era are the two biggest variables in how often any Garland home actually needs a check. A 1970s ranch and a 2015 build can share a floor plan and need very different inspection intervals.
Sheet Metal Ducts (Common in Older Homes)
Sheet metal holds up well mechanically, but it sweats in Garland’s humid season when insulation on the exterior of the duct is compromised. It’s also the easiest material to clean with mechanical brush systems because the surface is smooth. Sheet metal ducts in an older home warrant a visual check every six months and a full scope every 24 to 36 months, sooner if you see condensation streaks or seeping at seams.
Flex Duct Runs (Most Common in Homes Built Since the 1990s)
Flex is the most common material in Garland homes built in the last 30 years. It’s more vulnerable to sagging and to debris settling at the low points of a horizontal run. Visual check of every accessible flex run every six months, feeling for soft or crushed sections. Full scope every 24 to 30 months unless something looks off in the visual check.
Duct Board Runs
Duct board is a rigid fiberglass product used in some older homes and in specific runs of newer homes. Its rough interior surface catches debris more than sheet metal does. Duct board that develops moisture problems is also a material that weathers poorly. Visual checks every six months, full scopes every 18 to 24 months, and any moisture smell in a duct board home should trigger a scope immediately.
Construction Era Shifts
Homes from the 1950s through the 1970s often have original sheet metal with minimal exterior insulation, and some of those homes have a single panned return that runs inside a wall cavity rather than in sealed duct. Panned returns are harder to scope and more prone to collecting debris from the wall cavity. Homes from the 2010s onward often have tighter envelopes and better-sealed boots, which lowers debris load but doesn’t eliminate it; less dust enters from outside, but what does get in has nowhere to escape.
The right approach is to size your inspection interval to the material in your home, then correct it based on what your first two scopes actually show. If the first scope after move-in finds minimal loading, you can safely stretch to the longer interval. If it finds heavy accumulation, shorten it. This is one reason we build scopes into every estimate rather than guess from the driveway.
The Line Between Checking and Doing: Safety Boundaries
Some of a duct maintenance checklist is yours. Some of it isn’t, and knowing which is which is more important than knowing how to do either.
Checking is safe. Looking at the return with a flashlight, removing a register cover, feeling a flex run for soft spots, and logging a filter loading interval are all low-risk actions any homeowner can do.
Doing is different. Once you’re inside the duct itself, you’re working near the air handler, near electrical connections at the blower, sometimes near gas-fired heat exchangers, and often in an attic with risk of stepping through a ceiling. Duct cleaning isn’t a scrubbing job. It’s a mechanical extraction process that requires equipment designed to agitate the whole interior wall while holding negative pressure so nothing loosens into the living space. Abatement Technologies containment equipment exists because loosened debris that recirculates into the home is worse than debris that stays put.
That’s the practical boundary: check everything you can see and smell from outside the airstream; don’t reach into the airstream, don’t run a home vacuum into a duct, and don’t disassemble anything bolted or taped to the air handler. Those actions are where home duct work goes from useful to dangerous.
Common Mistakes to Avoid
- Replacing filters forever without ever checking the return plenum. The filter stops a fraction of what’s in the air; the return plenum and the duct walls behind it keep what the filter misses. Checking the return is the single most valuable five-minute habit in this guide.
- Assuming a low profile from the register means a clean duct. The booth interior is the last surface to accumulate, not the first. Most of the debris sits in the return and inside the runs where you aren’t looking. A scope settles the question; a register glance doesn’t.
- Ignoring the smell after spring rain. Musty smell after a heavy DFW rain is the early sign of moisture entering a duct system. Waiting a season turns a check into a repair.
- Buying the highest-MERV filter available without checking what your air handler was designed for. An overpowered filter restricts airflow, and a system that was tuned for a lower pressure drop will see less cooling, more runtime, and a filter that shorts itself by loading fast. Match filter to the system rather than shopping the filter aisle for the biggest number.
- Skipping a post-construction check after a remodel. Drywall dust from a kitchen or bathroom remodel lands in the return within days. A scope after any drywall work saves a much larger cleaning later. In a Garland home going through renovation near active construction corridors, this is closer to mandatory than optional.
- Calling the ducts clean without also checking the dryer vent. These are two separate systems with different failure modes. Dryer vent cleaning is a fire-safety service, not an optional add-on, and skipping it while checking the ducts misses one of the biggest actual risks in a home.
- Trusting a quote that names no equipment. A price is worth what the equipment behind it is worth. Ask specifically what system gets deployed before the price gets signed. A quote that names consumer vacuums or a compressed-air blowout tells you a lot about what the job will actually be.
When to Call a Professional
There are specific conditions where the checklist has done its job and it’s time to bring in a professional. Call us for a scope or an estimate when:
- You’ve logged a filter loading interval that’s clearly shortened over the past year.
- A boot or register shows fresh dust falling shortly after system startup.
- You smell mustiness at the return within the first hour after AC starts, especially after spring rains.
- Any flex or duct board run feels soft or cool to the touch when the system is running.
- You’re moving into a home whose previous duct maintenance history is unknown.
- You’re after a renovation, a HVAC replacement, or any significant drywall work.
- Your dryer is taking more than one cycle to dry a normal load.
Each of these is a specific, addressable condition. That’s the point of a condition-based checklist: the whole reason it exists is to make the call an obvious next step instead of a vague someday. Duct Cleaning Garland offers free estimates in Garland, and we’ll scope every reachable run before quoting. Call (888) 430-9938. We answer 24/7. Fast dispatch from 7am to 7pm, Sunday through Friday.
Frequently Asked Questions
Typical whole-system air duct cleaning in Garland runs from a few hundred dollars for a straightforward single-system home to just over a thousand dollars for a larger home with multiple systems, long runs, or duct repair needs. We don’t quote per vent and we don’t bait a teaser coupon price. The written estimate you receive is what sets the final price, and it’s free. Call (888) 430-9938 for an exact quote.
Low quotes usually reflect what isn’t in the job: no mechanical brush system, no professional-grade extraction, no containment, no scope. A shop vacuum and a compressed-air blowout can be priced very low because it neither agitates the duct wall nor extracts what it loosens. Ask any company what equipment they deploy before a price means anything. In our experience, the quote that names a specific system and a negative-pressure containment setup is the one that actually cleans the ducts. Call (888) 430-9938 to walk through what our estimate includes.
Ask for before-and-after photos or a screen capture of your own ducts before and after cleaning. Any tech with a camera scope can show you what they saw when they arrived and what it looks like afterward, and honest ones are happy to. If a company can’t produce photos of your ducts, that’s the answer. We include before-and-after documentation as a standard part of every job.
For most Garland homes, a full professional cleaning every two to three years aligns with what the condition checklist typically turns up. Homes near active construction corridors, homes with multiple pets, and homes where anyone in the household is pollen-sensitive tend toward the shorter end. Homes with sealed boots and tight envelopes can stretch longer if the filter loading trend stays stable. Base the interval on conditions, not on a manufacturing recommendation. Call (888) 430-9938 for a scope-based recommendation for your specific system.
Yes, more than most homeowners expect. Cedar pollen pressure in January and February loads the return filter quickly and deposits pollen on the return plenum walls, where it can hold moisture and texture that attracts more dust. For a pollen-sensitive household, increasing filter checks to every two to three weeks during January and February is the practical response, and a scope check in early March will tell you what the season actually deposited.
Usually not on the same visit, but on the same schedule. They’re separate systems with different equipment (a dryer vent uses a different tooling setup than the supply and return ducts), and skipping one while doing the other leaves the larger risk unaddressed. Dryer vent cleaning is a fire-safety service because lint accumulation is a leading cause of residential structure fires. If it’s been more than a year since the last vent cleaning, schedule it. Our dryer vent cleaning page covers what the service actually looks like.
The Bottom Line
A duct maintenance checklist only earns its keep if it’s tied to conditions you can see, smell, and measure in your own home. Check the return plenum, the supply trunks, the flex runs, and the boot connections every few months. Log your filter loading interval so you can see the trend rather than guess at it. Adjust for the local realities here: cedar pollen in January and February, spring mold pressure after DFW rain, summer construction dust from active build corridors. Size your inspection intervals to the duct material in your home, and treat any musty smell or sag in a run as a trigger rather than a someday. When the checklist has done its job, bring in a scope. That’s when a cleaning estimate makes sense.
When it’s time, we deploy Rotobrush brush systems for mechanical contact cleaning on every run, Nikro professional extraction to pull the agitated debris out of the system, and Abatement Technologies containment to hold negative pressure so nothing loosens into your living space. Our technicians have up to 13 years of experience, we handle duct repair alongside cleaning when a scope finds a breach, and we work with Honeywell and Aprilaire systems when filtration or humidity control upgrades make sense for a home. We also operate in the surrounding area, so if you’re nearby, take a look at what we do in Garland and the neighboring communities. Call (888) 430-9938 today for a free estimate. We answer 24/7. Fast dispatch from 7am to 7pm, Sunday through Friday. Closed Saturday.
Written by the team at Duct Cleaning Garland.
See the difference
 Before
 After
 Before
 After
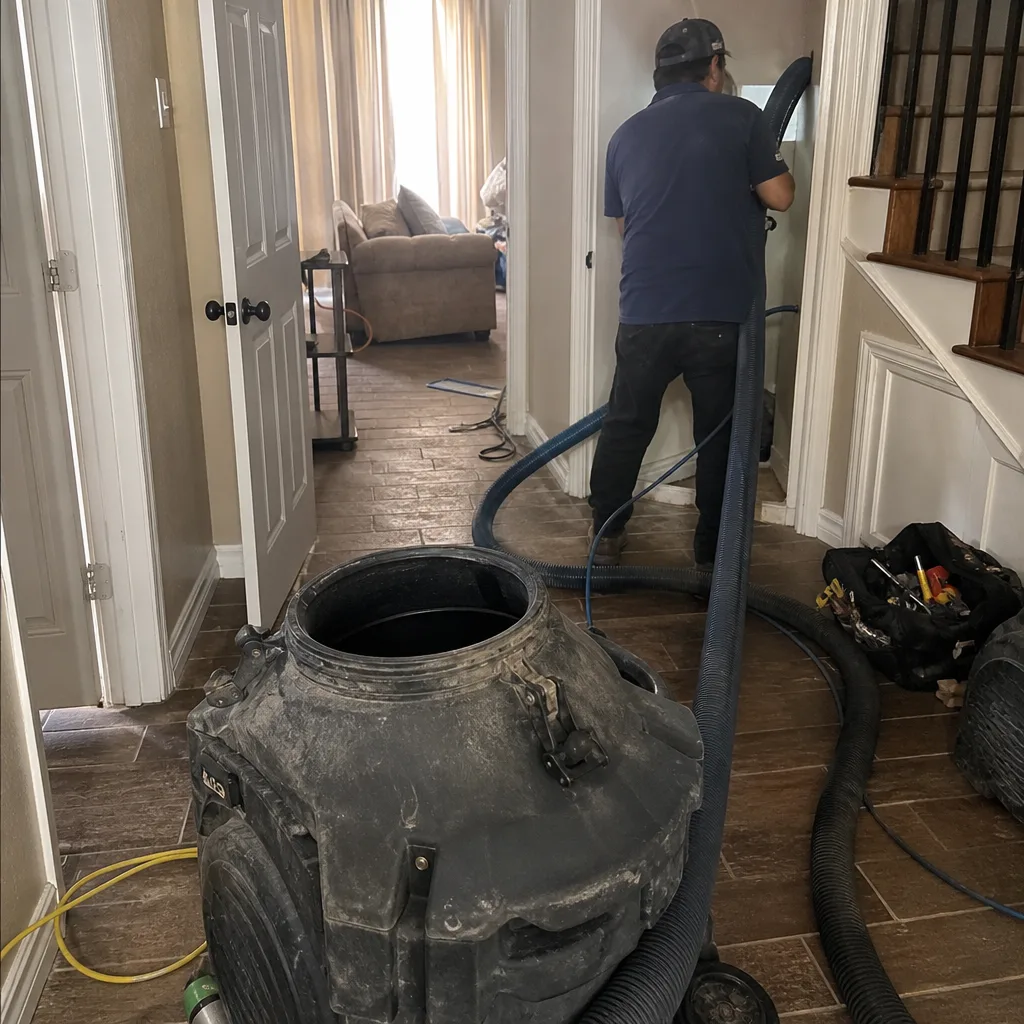 Before
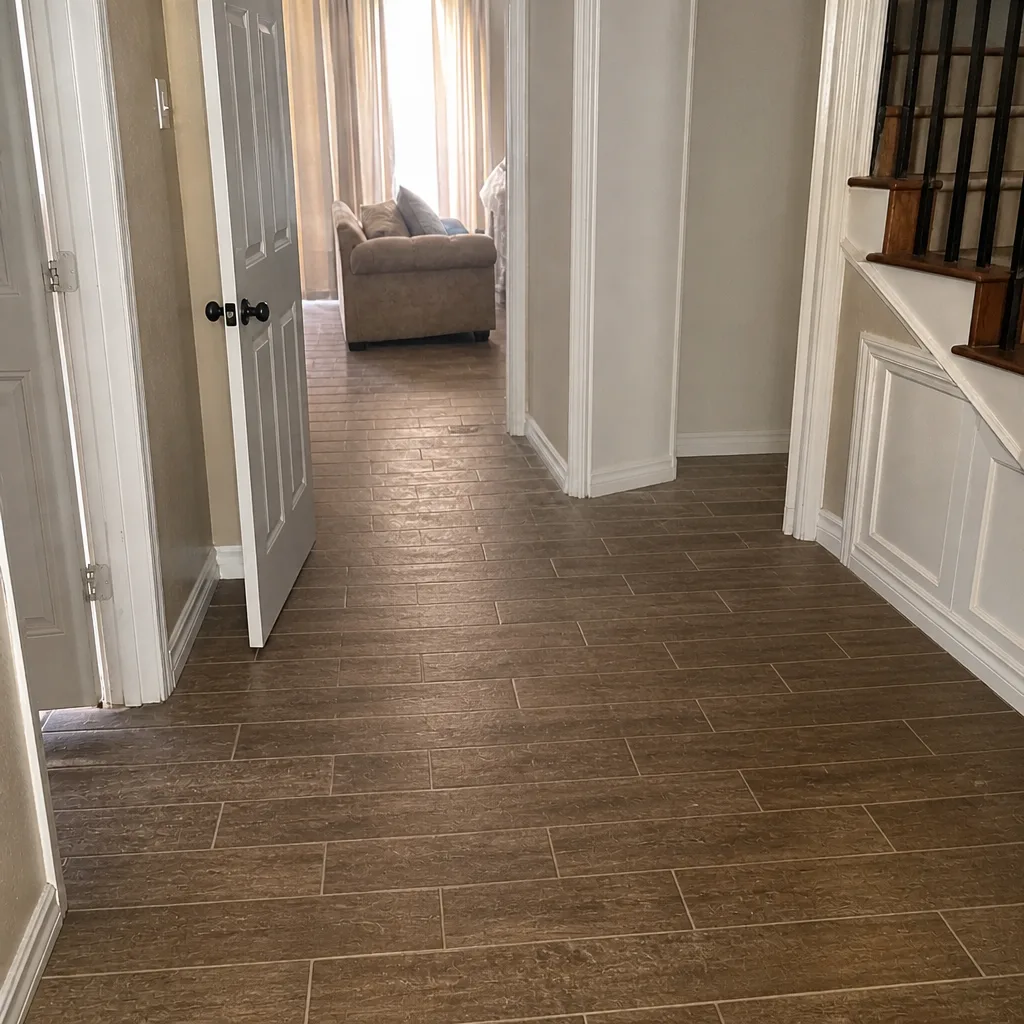 After